

Wednesday, June 30, 2010
Tuesday, June 29, 2010
Reverse Appliqué Leaves

Last Fall I took my first quilting class. About time right? The class was on making a reverse appliqué leaf quilt. I had so many other projects that I had to finish by Christmas that this project was put on the back burner. I took it off of the shelf last night and started working on it again. I finished these 3 blocks today. I takes a while to finish a single block, but it is worth it.
Tuesday's Tot Craft Time: Bird Houses

We bought these cute little wooden bird houses for a dollar each. My 3 year old loved painting them. They are mostly brown because of how much he has mixed up his paints this month. I just need to get some sort of spray to coat them and protect the paint and wood from the rain. I really love the paint drips on the roofs.
Monday, June 28, 2010
Ride'm Cowpoke

Tonight I have a quilt guild meeting where we are just going to work on whatever we want. I went to look at my ufo quilts to see what I wanted to bring with me, and I saw that I had not finished piecing my cowboy & cowgirl quilt. So I finished piecing it today. Now I am going to be on a search for the perfect border fabric.

I bought this fabric last year during vacation, just after my family reunion. Well my next family reunion is just around the corner, and I would love to start hand quilting it while there. It will be for my 3 year old.

I've frogged my market bag twice already. The first time was due to knitting while sleepy. My stitches did not add up the next day. The second time was just a misunderstanding of the pattern.

I really have to pay attention to the pattern and not loose my place. In order to do that, I use 2 magnets on the pattern page. One magnet is on each side of the paper, and it goes next to the row that I am working on. All the even rows are the same, so then the magnet goes in the middle of the last row that I did (over the words). That way I always know where I am.
This past weekend we went to Salem, MA. I was able to stop in a local quilt shop while there and buy some vintage looking fabric. I'm looking forward to making a cute outer space quilt out of it, but I should really finish some ufos first.
Saturday, June 26, 2010
To Market, to Market

I've been trying for a few days now to cast on a new project. However my first choice just wasn't working for me. Then I was flipping through the newest issue of Creative Knitting
Friday, June 25, 2010
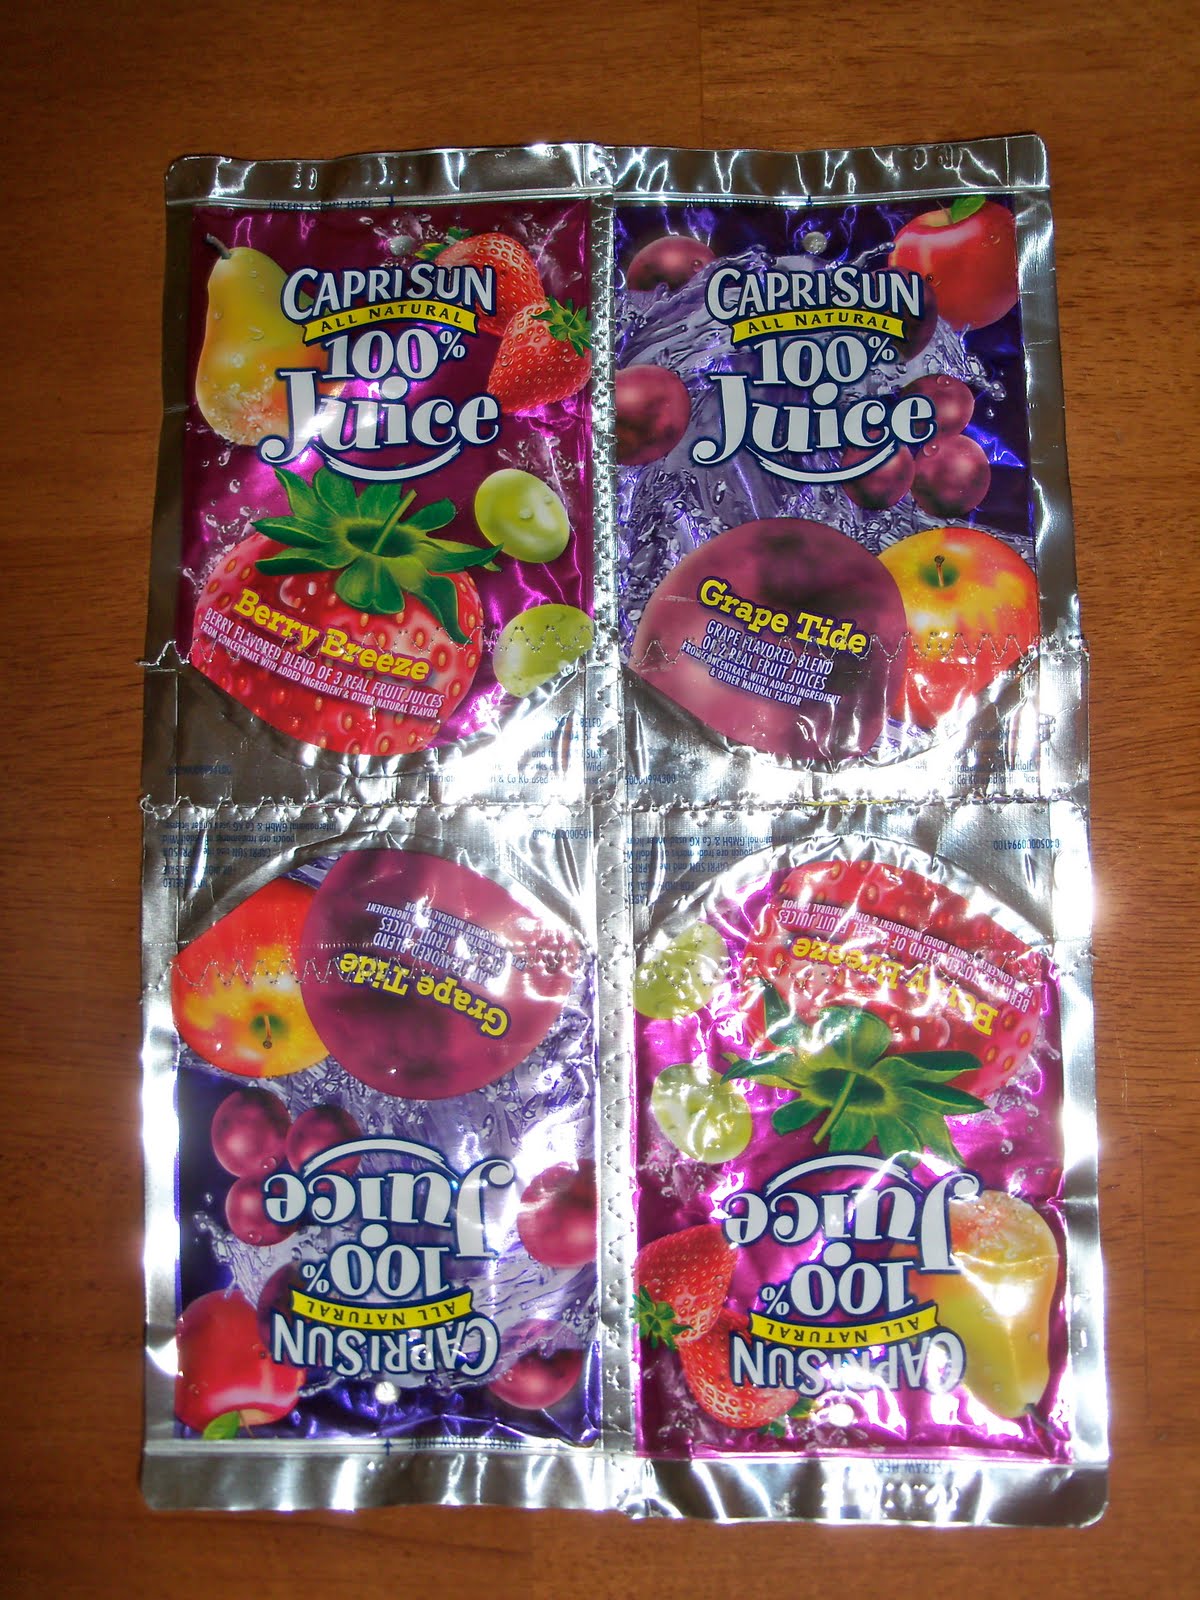
Juice Pouch Backpack

I have a commission to make 2 juice pouch backpacks. This one needed to be finished by July 4th. To learn how to clean the juice pouches, please watch this video.

You will need 33 juice pouches and a spool of wide ribbon to make one backpack. I prefer to use a zig zag like stitch when sewing the juice pouches together. I over lap them slightly and then sew. You will need three sets of 2 x 3 pouches, 2 sets of 2 x 2 pouches, and the bottom piece (see below).
Here is the front of the bottom panel. Notice how the centers are butted against each other and not over lapping?

Here is the back of the bottom panel. I cut one juice pouch in half and use it to attach 2 juice pouches together to attain the right size. Then I over lap the two vertical strips and sew them together.

I then use a long straight stitch to sew the soft side of velcro to the inside bottom of the flap.

Then I sew the hard velcro half to the front center panel. The purple is just an accent ribbon.

Measure and cut your ribbon. Pin it to the top of the back panel. Then turn your flap upside down, over lap it under the back panel, and sew.

Sew the front and back panels to the bottom panel. Make sure to start and stop about a quarter to half an inch from the sides.

Then sew the side panels on. Do not sew over the front and back panels (there will be some over lapping).

Fold the sides together (you might have to man handle the bag a little) and sew.

Make sure to pin the bottom of your straps in the right place before you sew those 2 sides together. I triple checked my measurements while pinning to make sure that my straps were the same length when sewn. Also the ribbon goes in the sides at an angle (about a 45 degree angle).

Here is what it looks like with the flap open. You can also add a juice pouch pocket on the inside or outside before joining the outside panels together.

Kids love having a fun and unique backpack for school. I have used the juice pouches themselves as the straps before, but they did not hold up well. Ribbon or fabric straps are the way to go.

Hands Across The Sand

Tomorrow, June 26th, there will be a nation wide event to show your support for cleaning up the Gulf of Mexico. Here is the description from the website:
"On Saturday June 26th, people from across the US (and around the World!) will gather at 'Hands Across the Sand' events along our coasts, waterfronts, and in symbolic locations within land-locked towns.
We'll stand together and show our leaders that we stand united in stopping offshore drilling, and are ready for clean energy. "
Here is the web site for Hands Across The Sand. They also have a facebook fan page as well.
Thursday, June 24, 2010
Episode 20, Off Loom Weaving Videos

Wednesday, June 23, 2010
Finished Cabled Cowl

I finished knitting the cabled cowl from Vogue Knitting Winter 2009, pattern #12 last night. Believe it or not, this was my first time knitting with wool. It is also my first cowl, and the first time that I used a knitting chart. Three is a magic number. I had never worn a cowl before, so I did a ravelry search for other people who had also made this cowl to see how they wore it. These were the two most popular ways to wear it. I prefer the top one. You may remember that I helped teach some Sunday school classes where we showed the kids how to dye Lionbrand's Fisherman Wool

This project is linked on Fibers on Friday on Visions of Sugar Plums blog.
You can link your fiber projects on there as well.
Tuesday, June 22, 2010
Tuesday's Tot Craft Time: Wall Art

Sometimes it is nice to buy some blank canvases

This one was painted over a month's time using do-a-dot
If you are worried about your child making a muddy mess, then limit the colors that he/she uses to those found next to each other on the color wheel. Avoid giving them black. This way they can mix colors and still have a bright and colorful painting. Allow your child to get messy. You can set up the paint area in a way that it is easy to clean up afterwards. Give them a large shirt or an apron to help protect their clothing, or dress them in clothes that they can get messy in. During the Summer, let them paint outside so that you can clean them and their paint area up with the hose.
Monday, June 21, 2010
Lucky #13 - Shopping Bags

I finished making the other 12 shopping bags today. As you can see, I used 3 different fabrics. There is the patriotic flag fabric, the strawberry fabric, and the watermelon and cherry fabric. The fruit fabric is from a line called Tutti Fruity. It has a different texture than the flag fabric. So now I have 13 new shopping bags (including the one that I finished the other day). The directions for making them is in this link.

As soon as I was done making them, then it was time to take them for a test run. The bagger only used 3 of the new bags. He did use 2 of my plarn bags and 2 of my t-shirt bags along with a few store bought bags. I am so happy to have more than enough reusable shopping bags for my major grocery store trips.
Sunday, June 20, 2010
Happy Father's Day
Yesterday I took my sons to Plaster Fun Time to paint something for for their dad for Father's Day. My oldest son painted the 1st one. My 3 year old painted the computer one. I painted the words on the screen for him, after he told me what he wanted it to say. Then I painted the octopus magnet.


When painting, don't forget that you can mix colors to create a new color. You can also use different painting techniques like dry brushing. I dry brushed purple over the blue on the octopus.


Even though I let my 3 year old pick out the colors for this, I did say no to certain colors that would make it look muddy when mixed (like yellow with the purple).

When painting, don't forget that you can mix colors to create a new color. You can also use different painting techniques like dry brushing. I dry brushed purple over the blue on the octopus.
Show Notes from Its Easy Being Green
If you look on the right hand side of my blog below the Blog Archive, you will find links to all of the show notes from my local t.v. show. You will also find a link to my you tube channel there so that you can watch the videos from the show.
Saturday, June 19, 2010
Smart Baby Quilt

I was looking through pictures of my quilts when I realized that I never made a blog post on my favorite one. I made this log cabin crib quilt when I was pregnant with my 2nd son. I love black and white prints. They say that black and white patterns stimulate a baby's brain. So I went to the store and bought a bunch of black and white printed fabric, whatever stood out to me. I also bought 2 different red and white prints to give it a little pop. The picture above was taken just before I quilted it.

All the blocks were sewn the same, as far as fabric/pattern placement went. The only difference was that I alternated the red middle square between the two red fabrics. The closer to the center of the block, the smaller the black and white print that I chose to use. I used the darker red fabric for the binding.

I made this quilt at the same time that I made my father-in-law a California King sized quilt. They were the first quilts that I had hand quilted. I really enjoy hand quilting. I feel that I have more control over the fabric that way. Plus I was able to quilt them while traveling. The picture above is the back of the quilt.
My son is now 3, and he is to big for his crib quilts. However he still likes sleeping with them. Maybe one day they will become wall hangings.
Friday, June 18, 2010
Patriotic Shopping Bag

I have come to the realization that although I have several reusable shopping bags, most of them are being used to store things around the house. Therefore I need more for shopping. Since I am going with a patriotic theme lately, why not make some patriotic bags. I have only finished one so far, but I have 5 more almost finished. I also have 7 others that are almost done in two other summer fabrics. With 13 new shopping bags, I'll be all set for the grocery store.

First what I did was fold the fabric in half. I cut it 16" wide along the length of the fabric. The width of most fabrics are between 40" to 44" which I use as the length of the bags. While it is still folded in half, I cut 3.5" off of the top for the handles. Then fold the handle fabric right sides together and sew along one side. Put a safety pen through one of the open ends, and then use it to turn the handle right sides out. I like to iron the handles flat to make it easier to top stitch them. I also fold the bag in half, right sides together. Then I sew the two sides together.

Next I top stitch on both sides of the handles. This helps secure your first stitches as well as add a finishing touch to your handles.

Then fold the stitched sides of the bag, and stitch them down. You could skip the sewing and iron or pin them down instead.

Next fold that stitched side again so that the raw edge it hidden and sew. You could use a straight stitch, but I like to use the kind of stitch used on t-shirts/jeans.

To make your bag have a flat bottom (when filled), take the bottom and make this corner. You can see the stitched side here. I like to line up the stitched side with the folded crease from the bottom. Then I draw a 2" line across it. I do this on both sides of the bag.

Then sew it using a straight stitch.

You can cut the corner off and sew the raw edge down, but I left mine attached (less work).

Next fold over the top of the bag and sew it.

Then fold it over one more time to hide the raw edge and pin it. Three inches in from each side I pinned the handles. I folded the raw edge of the handles inside of the folded top edge of the bag.

Then you sew the top of the bag catching the handles as you sew. I sewed in two different places to make sure that the raw edge stayed hidden and to really lock the handles into place. Next time I will use that t-shirt stitch from earlier for this part.

Voila! You have a reusable fabric shopping bag that does not need a lining. I made some a year ago, and they hold up great. I made smaller versions of these for my son's birthday goodie bags. You can also watch episode 5 of my t.v. show where my guest made these bags. There are 3 videos in total.
Subscribe to:
Posts (Atom)