Friday, May 21, 2010

Insects Like Weaving & Fused Newspaper Tote


I got a lot of weaving done on my newest finger weaving project yesterday.  Again I am using 1 skein of yarn that is variegated.  I want to make a bag out of this one.  I'll have to make a few long strips, and then sew them together to make the bag.


This little guy wanted to have a closer look at my yarn when I took a break from weaving.  It seems that lately the insects are really into my weavings.


On Saturday, this jumping spider decided to have a closer look at my last weaving.  He jumped on my hand and then on my leg.  My husband just happened to be outside with his camera, and he took this picture.  You can see some more pictures from last weekend on his blog.


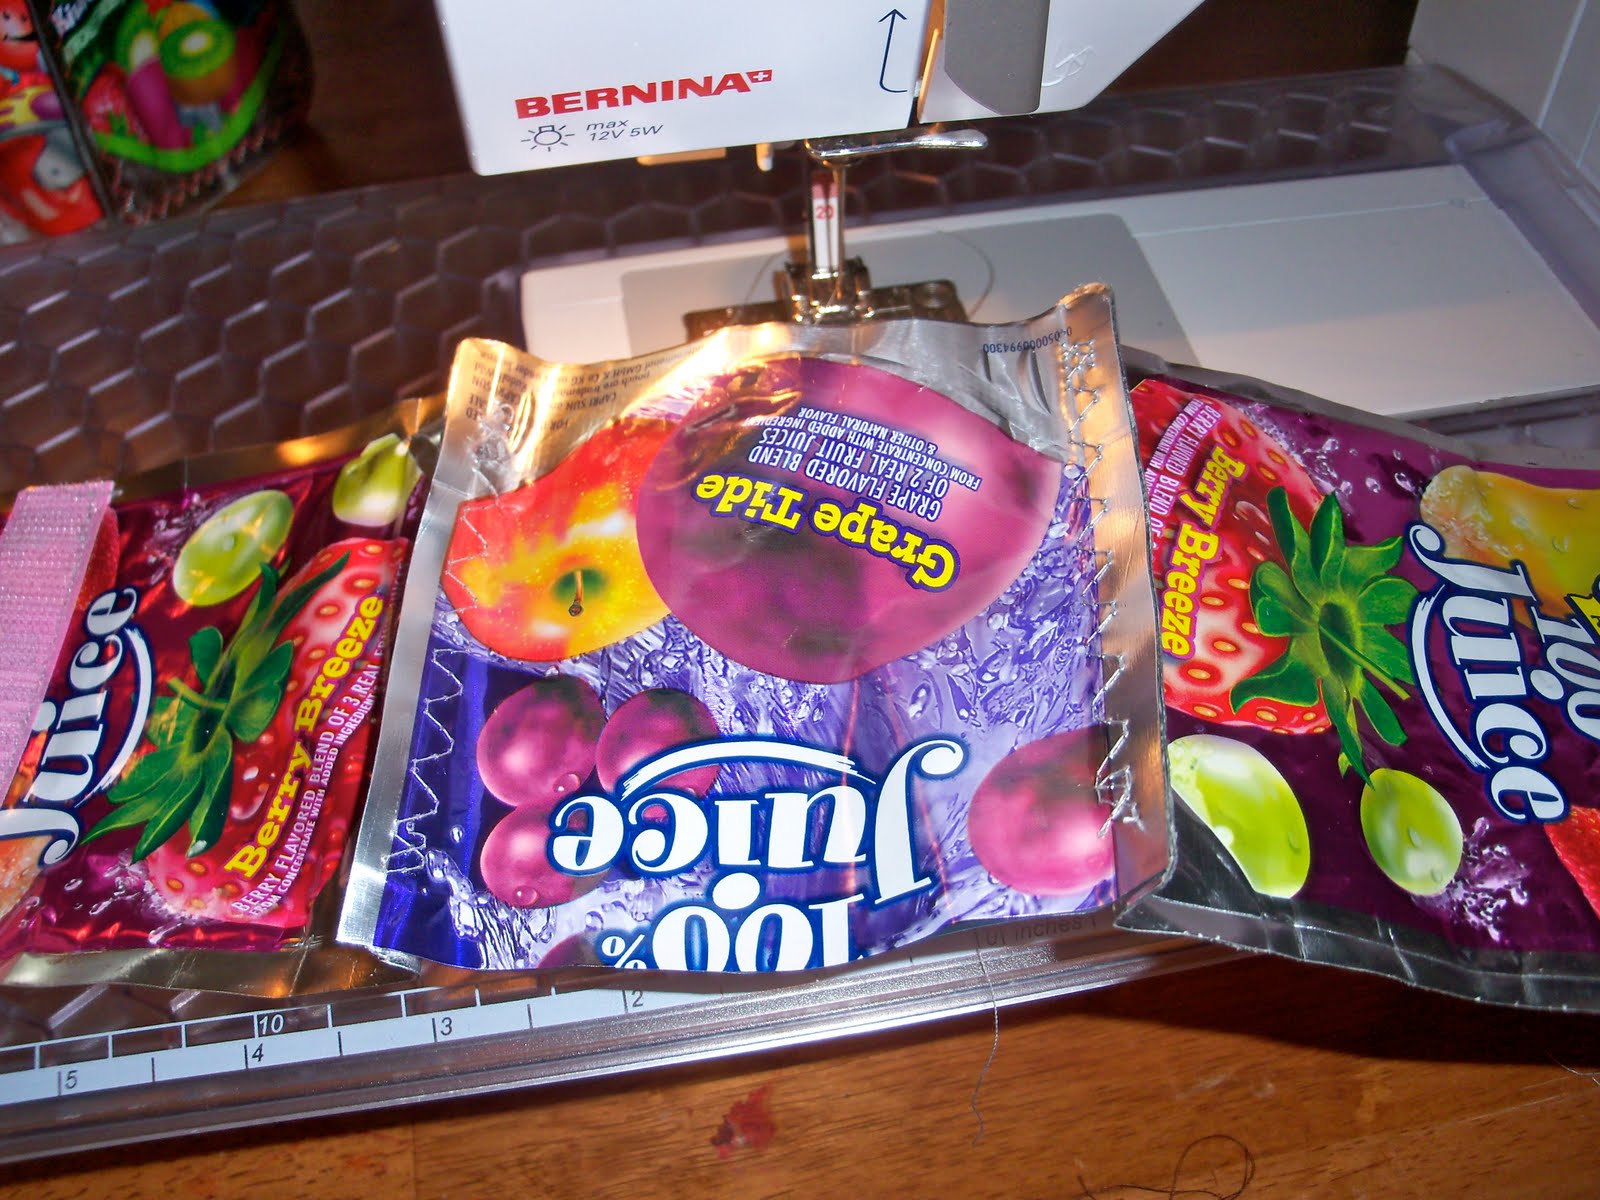
This morning I finally got around to making a fused plastic bag tote out of newspaper bags for a friend of mine.  She asked me to make this 2 months ago.  I really wanted to make a special one for her.  I fused several newspaper plastic bags to themselves (the 2 layers of the bag together).  Then I wove them together.  Then I fused some clear ones to the back.  Next I cut up a fused pink bag and then fused the strips to the front of the bag.  Here is the sheet of fused bags before I sewed it.


Next I layered 3 bags together, and then fused them to make the handles.  I cut this in half and folded it to make the handles.


Voila!  I just love it, and so did my friend.  I brought it to her this morning.  She is the person who gives me the most newspaper plastic bags, and she had wanted a bag made from the ones that she had saved for me.


Thirteen plastic newspaper bags were used to make it.  There is 6 layers of plastic fused together.  Normally I only fuse 4 layers, but the newspaper bags are thinner than regular bags.

Thursday, May 20, 2010

Juice Pouch Container (how to)


Someone I know wanted a juice pouch container to hold her son's colored pencils.  She liked the container that I have in my purse (to hold pens, my checkbook, etc).  After talking, fushia and purple were the right colors for her son.  So yesterday I made this one for her.  Her son loved it, and it now holds his DS and DS games.


To clean the juice pouches, please watch my you tube video on it.  You will need 6 juice pouches and a small strip of velcro to make this container.  To make the bottom of it, lay one juice pouch over another at a right angle.  Cut the one that will be the bottom so that the height is the same as the width.


For the velcro flap, sew two juice pouches together at the top.


Sew the velcro on the outside of the front pouch, and on the inside bottom of one of the pouches that you just sewed together.


The front and back pouches are then sewed to the bottom.  Make sure to leave a quarter of an inch unsewn on both ends of the pouch.  This is so you can sew the sides together later.


Then sew the side pouches on.  This is what it looks like on the inside.


Then this is the outside of it.


Then fold the sides together and sew up the sides of the bag.  Don't be afraid "man handle" the bag so that you can sew it easily. 


Here is the finished, opened bag.

Finger Woven Belt


I finished finger weaving my belt last night, and I am now wearing it.


There was enough to make 2 belts.  The yarn came from 1 skein of variegated yarn.  I really love these colors together.


All you need is 2 D rings and a needle and thread to turn a woven strip into a belt.  It was easy to pass 3 layers of the woven strip through my sewing machine (to hide the end / edge).


I started a new one last night.  Its wider than the last one.

Tuesday, May 18, 2010

Tuesday's Tot Craft Time: Watercolor Painting


The library has stopped drop in craft time for a few weeks.  However my son has been doing a lot of watercolor painting lately.  A friend gave me a box of old printer paper that she no longer wants (the kind with holes on the sides).  Now he has a whole bunch paper to use.  This is a nice way for him to be creative, get messy, and learn about color.  The funny thing is that he learned all by himself how clean water makes for better paint color.  So as soon as the water is opaque, he goes and gets some clean water.  I keep a towel near by to clean up any messes.  Because it is watercolor, it is easy to clean up.  His table is set up in a place where I can keep an eye on him and he has a straight route to the bathroom sink.

The Benefits of Art and Your Child.
Watercolor Techniques for Kids.

Sunday, May 16, 2010

How I Spent This Sunday


Today was another Sunday school class.  I had the 3rd graders today, 3 girls and 2 boys.  Here is the juice pouch notebook and paper beads that I made.  The kids enjoyed making their own notebooks.


Some of them wanted to draw in their notebooks right away.  I wish you could see the beautiful flower drawing that this girl is working on.


After snack we made the paper beads.  Four out of the five kids made the beads.


I had brought my finger weaving with me to church.  After church a few of us went out on the grassy town common to enjoy the sun.  The kids were playing and climbing trees, and I worked on my weaving.  This was my favorite part of the whole day.


Later my husband took us to a new park.  I brought my weaving with me, but I was only able to untangle the yarn while there.  You can see the strap of my finger weaving board on my shoulder.  I love portable projects.


I just love the colors in this picture.  What a great color story to use in a future project.  Does anyone keep an inspiration board?  I really want to make one.  I haven't had one since college.  This will go right on it, but for now it's my desktop picture.

Saturday, May 15, 2010

Episode 20 of It's Easy Being Green: Off Loom Weaving

I've been preparing all week for the off loom weaving episode of my local access t.v. show.  I taped it last Friday with my friend Frances Killam.  It won't air for 2 weeks, which means that it won't be on you tube for at least a month.


One important tool that you will need is a belt.  I made these belts yesterday out of some ribbon and some D rings.  You can buy the D rings from the fabric store or craft supply store.  You just sew them together on one side of the ribbon.  The belt acts like and anchor, and I use my foot as the anchor for the other side.  The belt (and thus my body) and my foot hold the warp / vertical yarns so that there is a good amount of tension in the warp.  Warp: vertical threads in weaving.  Weft: horizontal threads in weaving.


The show started with card weaving.  You can make your cards out of food boxes.  I cut mine 3.5 inches squares.  Then you punch 4 holes in it and label the holes A, B, C, and D.  This picture shows some small bookmark sized card weavings that I have made.  You can make belts and other things to.


This card weaving is used on my finger weaving board (shown in a few pictures below).  The yarn is strung through the 4 holes in the cards, using multiple cards.  Then one end is tied around the belt and the other end is anchored to a table, wall, tree, or your foot.  The link above has details on how to card weave.


Then I showed how you can make your own shed out of a food box.  The yarn is pulled through the holes and gaps.  When you raise the shed, the yarn in the holes move up.  When you lower the shed, the yarn in the holes moves down.  This allows you to easily plain weave (weaving the odd and the even threads).  Here is a you tube video that demonstrates how to make the shed and how weave with it.  The shuttle is also made from a food box.  A shuttle is what you wrap your weft yarn around.


This is a popsicle version of the food box shed.  Be careful when drilling holes in the popsicles since they are very thin.  I used wood glue to hold them together.  This is a much better version than one made out of food boxes.


Here is my finger weaving board.  I made it so that I could easily make wide weavings.  It also acts as an anchor.  It is made using 2 planks of wood, 2 C clamps, 2 eyelet screws, and a small belt that I card wove (you can use a ribbon).  The yarn is held between the boards.  The belt / ribbon is there if I need to add tension with my feet or a table leg.


This is the more complicated type of finger weaving, but it can result in some beautiful weavings.  It is almost like braiding.  You start in the center and weave towards the outside.  It is the chevron weave in these instructions.


This is the diagonal weave in the same set of instructions.  This is much easier to do.


Just pick up the odd numbered threads (1, 3, 5, 7, etc.), letting the even numbered threads drop.  Then you pass thread number one (for me it is the far left thread) through the gap.  Then you pick up the opposite threads which have become the odd numbered threads, and repeat.  Also by picking up the opposite threads, you can "beat" the weft (the yarn you passed through the gap).  "Beating" the weft means that you make sure that it lays evenly and flat against the other threads in the weaving.


I worked on this one some more today.  I plan on making a belt out of it.  The yarn is a variegated yarn, so all the colors come from the same skein yarn.