Monday, May 31, 2010

The Zoo


This weekend we checked out a new zoo, at least new to us.  I was very impressed when I saw this bench that was made out of 1550 milk jugs.


Right across from it was this bench that was made out of 100% recycled materials.


Unfortunately they still permitted people to smoke inside of the zoo.  However this sign was really cute.  I immediately pictured a fish coming up out of the water and using its side fins to move around.


This sign was also pretty cute.  That night we watch Zathura.  There is a part in the movie where the kid asks what the aliens eat.  When told that they eat meat, he was relieved.  That is until he found out that he is meat.  Well that kind of describes one of the conversations that I had with my kids while looking at the lions. P.S. We are all vegetarians.

My husband took all of these pictures for me.  To see what pictures he took for himself, please visit his blog.  Check back later this week to vote for your favorite picture (on his blog).  He is entering a photo contest that the zoo is running, and he wants opinions on which pictures to submit (there is a 3 picture limit).

Memorial Day Weekend


I hope that everyone is having a wonderful 3 day weekend.  I've put aside the crafts this weekend to spend time outside with my family.  I did have my last Sunday School class yesterday (making juice pouch notebooks and paper beads).  I'll post some interesting recycling pictures later, after my husband turns over the pictures (he took them).  Mean while, I took this picture last summer while on vacation.  It seems to suit today.

Friday, May 28, 2010

Birthday Goodie Bags


Ever since my oldest son's 4th birthday I have been making the goodie bags for his parties.  I don't like those plastic ones.  The kids take them home and throw them away.  I like the goodie bag to be one of the goodies that they take home and use again and again.  I also hope that they get passed on to younger kids when the other child is to big for them.  This will be the 2nd year that I am making them out of printed fabric.  My son is having a lazer tag party.  I couldn't find any fabric that matched the theme, but this black birthday fabric works great.  I am making them the same way that I make my reusable shopping bags, only smaller.  I need to make 9 for this year.  Seven birthday guests, the birthday boy, and his little brother.


These are the fabric goodies bags from last year's water themed party.


This Pikachu one is from his Pokemon birthday party.  It is made from felt.  I just used fabric paint and google eyes to decorate it.


Here is the back of the Pikachu one, a poke ball.  I started painting these 3 months early, because I was pregnant with my 2nd child.  I knew that he would be born before the party, and that I wouldn't have much time to work on them after his birth.


I think Elmo was from his 5th birthday.  It took a long time to paint all of the Elmo faces.  I prefer to attach the child's name to the handle so that it can be removed and passed on to another child.  The soccer one was for his 6th birthday.


The back of the Elmo bag is fake fur and google eyes to represent some of the monsters on Sesame Street.  The back of the soccer one had glow-in-the-dark paint and the child's name.  I had to make about 27 of the soccer bags, because he wanted to hand them out to his whole class.  He opted to not have a party that year and do something special with us (mom & dad) instead.

Bags not pictured: Spiderman, mini golf, and the webkinz tiger.  The webkinz tiger was the most labor intensive.  I had to fuse a forest printed fabric to felt.  Then I machine applicayed fake tiger fur to it, along with fake white fur for the cheeks.  I embroidered whiskers, sewed on a button nose, and glued google eyes on it.  It looked great, and my youngest son still plays with his bag.

Thursday, May 27, 2010

Magnets


A few months ago my kids picked up some wooden animals and things from the craft store.  I finally got around to glueing magnets on the back of them this week.


I love magnets.  They cover most of the sides of my refrigerator.


My youngest son loves playing with them.  They keep him occupied while I cook dinner or wash the dishes.


I love buying the pre-painted wooden pieces from the craft store for this purpose.  The magnets that I glue on the back are much stronger than any of the other magnets that I have bought.  It's nice knowing that when I put a piece of paper on the refrigerator with them, it won't fall off.

Some of my other magnets are movie stubs, magazine clippings, and pictures glued onto those business card magnets that people sometimes send in the mail or had out.

Wednesday, May 26, 2010

Wordless Wednesday: Color Scheme In Nature


Triadic color scheme: secondary colors / orange, purple, and green.

Tuesday, May 25, 2010

Box Exchange 2009-2010

This was the second year that I have participated in my quilt guild's box exchange.  What is a box exchange?  You pick out a block, include any kind of instructions for the making of that block (size, piecing directions, color, ect.), then put it in a box (provided by the guild).  Everyone's box looks the same.  Then they number the boxes.  You don't know what number is on your box, so that you never know who has your box.  Then at each meeting (once a month) you get a new box and turn in the box that you had.  You follow the instructions in the box and make one or two blocks for it.  This box exchange started in October and ended this month.  This month was the big reveal to see how everyone's blocks turned out.  The following blocks are ones that I worked on.


I made two blocks for this one.  The top left and the third row middle one.


You might remember this one from the April block of the month how-to.  I made the top left one.


I don't remember which ones I made here, but I did make 2 blocks.


I don't remember if I made one or two of these blocks.  There are three that look the same, and I worked on one or two of them (top left, middle right, and bottom left).


I made the top right one and the 4th row right one here.


I enjoyed making those blocks so much that I made 2 more for myself and made a pillow out of them.


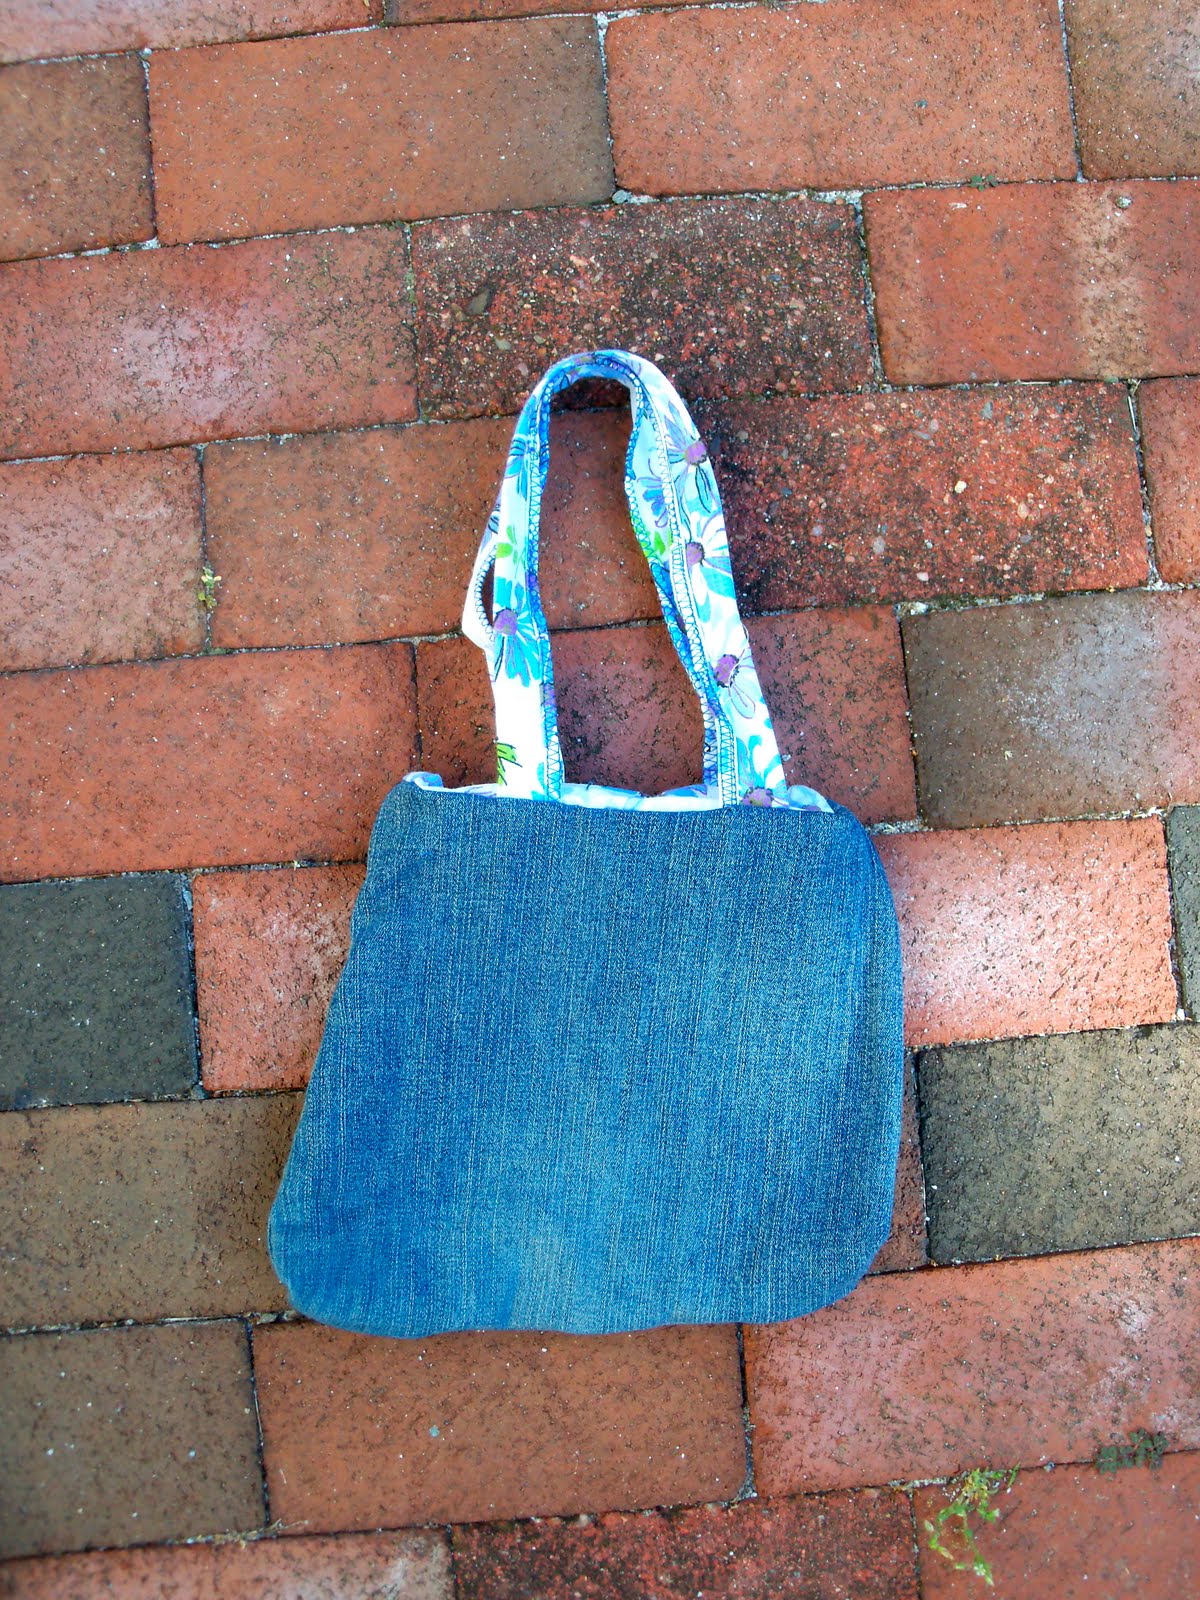
With the scraps, I made 2 catnip sachets.


I made the bottom center block here.  It was a very large block, so everyone who worked on it only made one.  I really like how bold this one looks.


This one couldn't have come at a better time.  I had really wanted to make a maple leaf block when I received this box.  I made the brown one in the 2nd row, 2nd in from the left, and the bottom orange one on the left.


These are from my box.  I included the center square and asked that everyone use it.  I requested that they use red or pink and white or cream in this log cabin block.  I wanted a Valentine's theme, because I wanted to turn them into a shape of a heart.


Today I pieced them together.  The 2 center squares are the ones that I had made.  I plan on having this quilt finished by Valentine's Day next year for my youngest son.  I want it to be a twin size quilt.  Now to figure out what the rest of the quilt will look like.  I really love how it turned out.  I had to pull myself away from working on it more (I have other projects that have an up coming deadline).

Tuesday's Tot Craft Time: Cambodia


On Sunday we went to the American Textile History Museum.  They have a great kids area in which they had several Cambodian inspired crafts set up for the kids to make.  This is a paper doll that the kids could trace and cut out.  Then they could color her and glue scrap fabric on her for clothing.  Another great idea for fabric scraps!  We put 2 magnets on the back of her, and now she is on our refrigerator.


This necklace was very easy to make.  The kids had their choice of lettered and numbered wood tiles.  There was a pen available along with a Cambodian letter and alphabet that the kids could add to the back of their tile.  The back of my son's tile is the Cambodian number 3.  Then there were cut strips of sticky, soft velcro.  You attached it to the tile and around the cord at the same time.


The kids could also make the cambodian flag.  They had pre-cut blue and red pieces of fabric that needed to be glued together (with a glue stick).  Then you had to cut out the white image and glue that to the flag.  Then using the glue stick, you glued and rolled the flag around a skewer or dowel.  I cut the sharp point off of the skewer before glueing the flag on.


Here is the crown and tiara station.  They provided 3 templates that you could trace around a stiff piece of felt.  Then there were lots of goodies that the kids could glue onto it.  They even had glitter glue (which can get messy and takes a while to dry).


When your tiara or crown is dry, then you can punch a hole on 2 sides, add some string, and wear it.


I can't forget about Lulu.  She greeted us when we entered the museum.  My son really liked her.  So much so that we had to wait 10 minutes for her to come back before we could leave the museum.  I think that it is really cute that the mascot for the Textile Museum is a lamb.  Once a month the museum offers a program for the kids with Lulu.  We are going to have to check it out some time.

Monday, May 24, 2010

Jean Bags


I made these items today from one leg of a pair of jeans.  It was fun just playing around on my sewing machine, making it up as I went a long.  I got to play around with making button holes, which I learned how to make in October.  I think that these bags are perfect for little girls.


Gadget cozies.  It holds my i touch just fine.


This is my favorite one.  It is lined and has a pocket on both sides.


Here is the back of that same bag.


This one is unlined with a button closure.  The handle is made from the top of the jeans.


This one is also lined, and it expands at the bottom (where the pants leg got wider).

Weaving at the Textile Museum


Today I went to the American Textile History Museum.  They were celebrating their 50th anniversary, admission was free, and my friend was volunteering there.  It was great being able to work on my weaving in public while my 3 year old played.  They have a great kids' room there with lots of fun crafts to do (which I'll talk about on Tuesday).  Plus it was really nice hanging out with my friend for a little while (she took this picture of me).


As an early birthday treat to myself, I bought this cute messenger bag at the museum.  It is made from a recycled, plastic woven material (hagar design).  The museum had a special exhibit called "More Than A Number: a collection of Khmer Refugee transit photos and the stories of our heroic survivors."  A very sad yet moving story of Cambodian refugees, what they went through, and their textiles.  The purchase of this bag helped disadvantage women in Cambodia.


One of my last posts talked about how little critters seemed to enjoy hanging out with me while I wove outside.  Well this spider came out on my swing two days in a row while I was weaving.  Its kind of cool to be weaving around the original weavers.

Saturday, May 22, 2010

My New Purse


Yesterday was a great day for fusing plastic bags.  I discovered this very large, blue, plastic shopping bag among my things.  It was given to me by one of my many plastic bag donors.  I have been on the look out for a nicely colored bag to make into a purse, because I love my adopt-a-road purse so much.


I first fused it to itself (the 2 layers of the bag).  Then I folded it in half, and fused it again.  That gave me 4 layers, which is the minimum amount of layers that you need for a sturdy bag.  Next I took some fabric and had the right sides of the fabric and fused plastic facing each other, and I sewed 3 sides together.  Which is the right side of the fused plastic?  Which ever side that you like the best.  Then I turned it inside out, tucked the forth side in, and sewed it closed.


I did not want to use the same fabric as the lining for the bag's strap.  It was doggie fabric, which makes a fun lining but I don't want to showcase it for the world to see as the strap.  Then I saw the left over finger weaving that I had made (the part that was not turned into a belt).  It was perfect.  Next I fold the bag, right sides together, how I wanted the bag to be.  I pinned the woven strap to the sides.  Then I sewed the three sides and the strap together.


Next I folded in the three sides of the flap a little, and sewed that down.  Then I turned it right sides out.  I took it to the store to pick out just the right button for the outside.  Its good to bring your project with you when picking out accessories or accents for your project.  What looks good in your head might not work with the project.  I sewed the button and the snaps on the bag, and voila it was finished.


Now I have a nice, new purse that was made out of an old shopping bag.    I really love that I made the strap as well.  The lining shows my playfulness.  The outside is nice and clean / simple.  Its in my favorite colors.  I think its great that my other purse is the compliment to this one.  Its orange, which is the complimentary color of blue (opposite on the color wheel).  I'm looking forward to showing it off.  Now to clean out my other purse.